First off, this tutorial is not for the faint of heart and as always I take no responsibility if things go wrong on your end.
I got tired of trying to get darcs installed on my CentOS box and instead downloaded the PyFlag tarball. The first thing you will have to do is update Python on your box - I installed 2.6.1 by source.
You must also install all packages mentioned earlier including MySQL for Python and Sleuthkit:
# yum install python-dateutil clamav clamav-server \
mysql mysql-devel mysql-server file-devel python-expect \
zlib zlib-devel openssl python-imaging
You may have a problem when you install MySQL for Python, however, when it tries to download the setuptools-*.egg file. If you have Python version 2.6 installed you need the following egg file:
setuptools-0.6c9-py2.6.egg.
You can download this into your MySQL-python-1.2.2 directory and change the name to setuptools-0.6c5-py2.6.egg or you can muck around with the ez_setup.py file. However you want to do it.
# python2.6 setup.py build
# python2.6 setup.py install
Now, if you have Python 2.6 installed in addition to your default Python installation, you'll have to copy over some libraries to the new location e.g.
# cp -R /usr/lib/python2.4/site-packages/pexpect.py* \
/usr/local/lib/python2.6/site-packages/
# cp -R /usr/lib/python2.4/site-packages/PIL \
/usr/local/lib/python2.6/site-packages/
# cp -R /usr/lib/python2.4/site-packages/python-dateutil \
/usr/local/lib/python2.6/site-packages/
# cp /usr/lib/python2.4/pyexpect.py* \
/usr/local/lib/python2.6/
At this point you should be set to begin PyFlag installation.
# ./configure
# make install
At that point you are set to run PyFlag. Don't forget to set up MySQL:
# /sbin/chkconfig mysqld on
# /sbin/service mysqld start
# mysqladmin -u root password 'new-passwd'
You must use quotes around the new-passwd you choose, and don't forget what it is!
Then start PyFlag by typing "pyflag" (without quotes) at the commandline.
By default PyFlag listens on port 8000. So simply open your browser and go to http://127.0.0.1:8000 You can modify settings at this point:
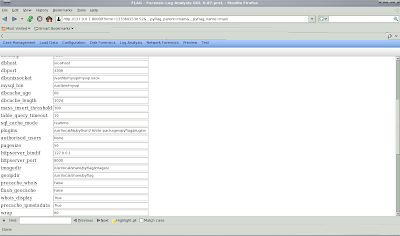
You will then have to initialize the database:
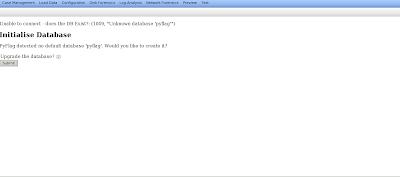
After which you will see a success message:

Now you are ready to start a new case, which you can do under case management.

Give the case a name:

and then you will see confirmation that your case is created:
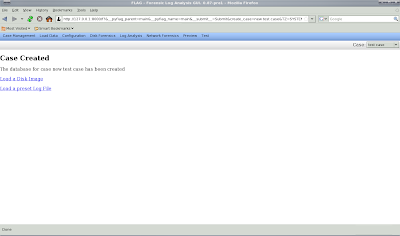
Now you can load your evidence. In this case, I am loading a USB image. Type 0 (zero) for the offset and give your evidence some unique name you'll remember and press submit.
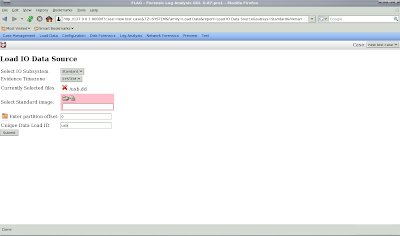
If things work out, you will Sleuthkit will identify the file system type in a mount point (this could be anything, I'm using /usb but it could be D: or whatever):
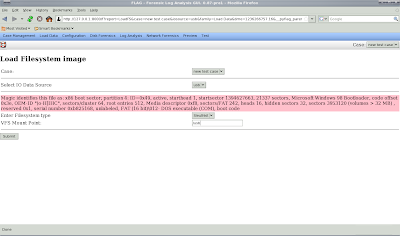
You will then see the uploading dialog.
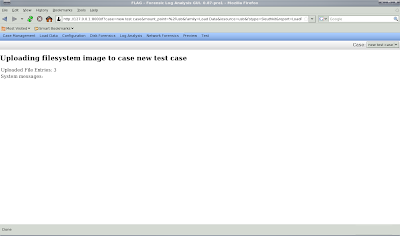
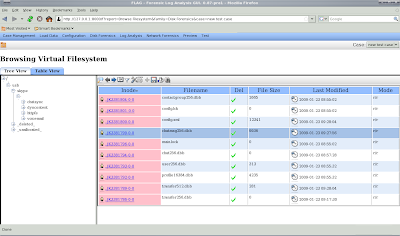
Note: DO NOT BE IMPATIENT! Let it finish uploading. You will notice that it will refresh every now and then as it uploads more from the filesystem. It will then redirect to the analysis screen. You can now browse the filesystem:
2 comments:
Hey! Is that warning about patience directed at me??? LOL :D
If not, it should be ;)
KP
Maybe ;-)
But don't feel bad - it seems like a common mistake.
-JL
Post a Comment